This post may contain affiliate links. Please read our disclosure policy.
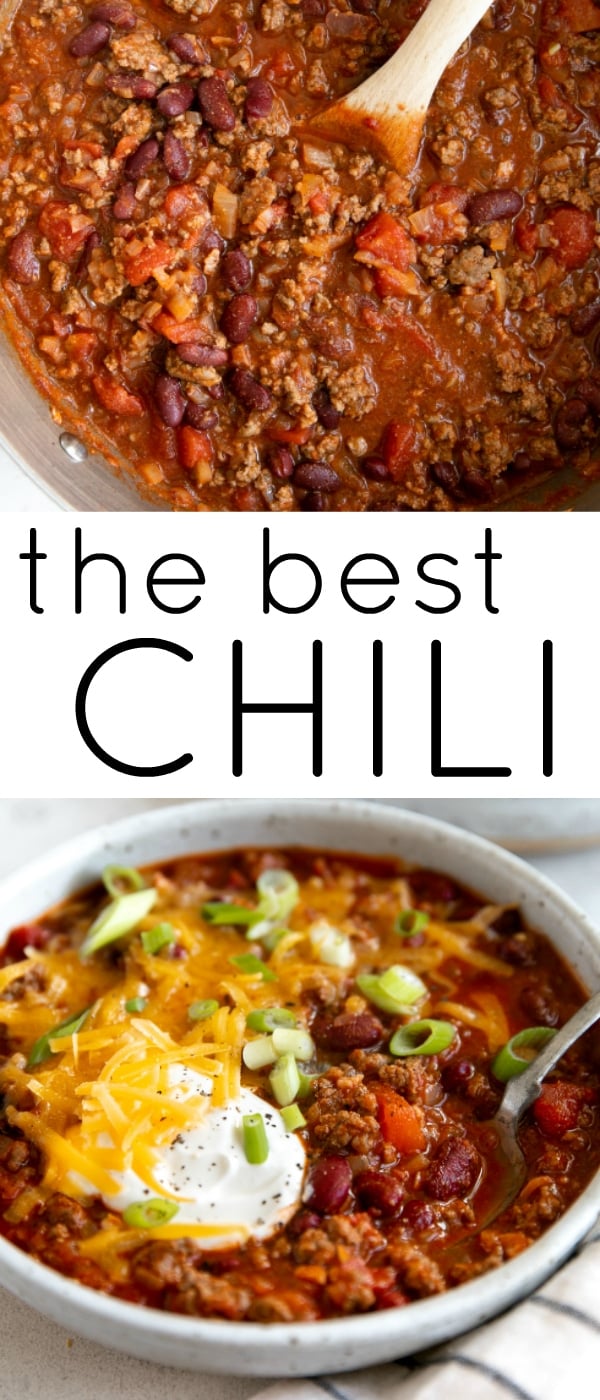
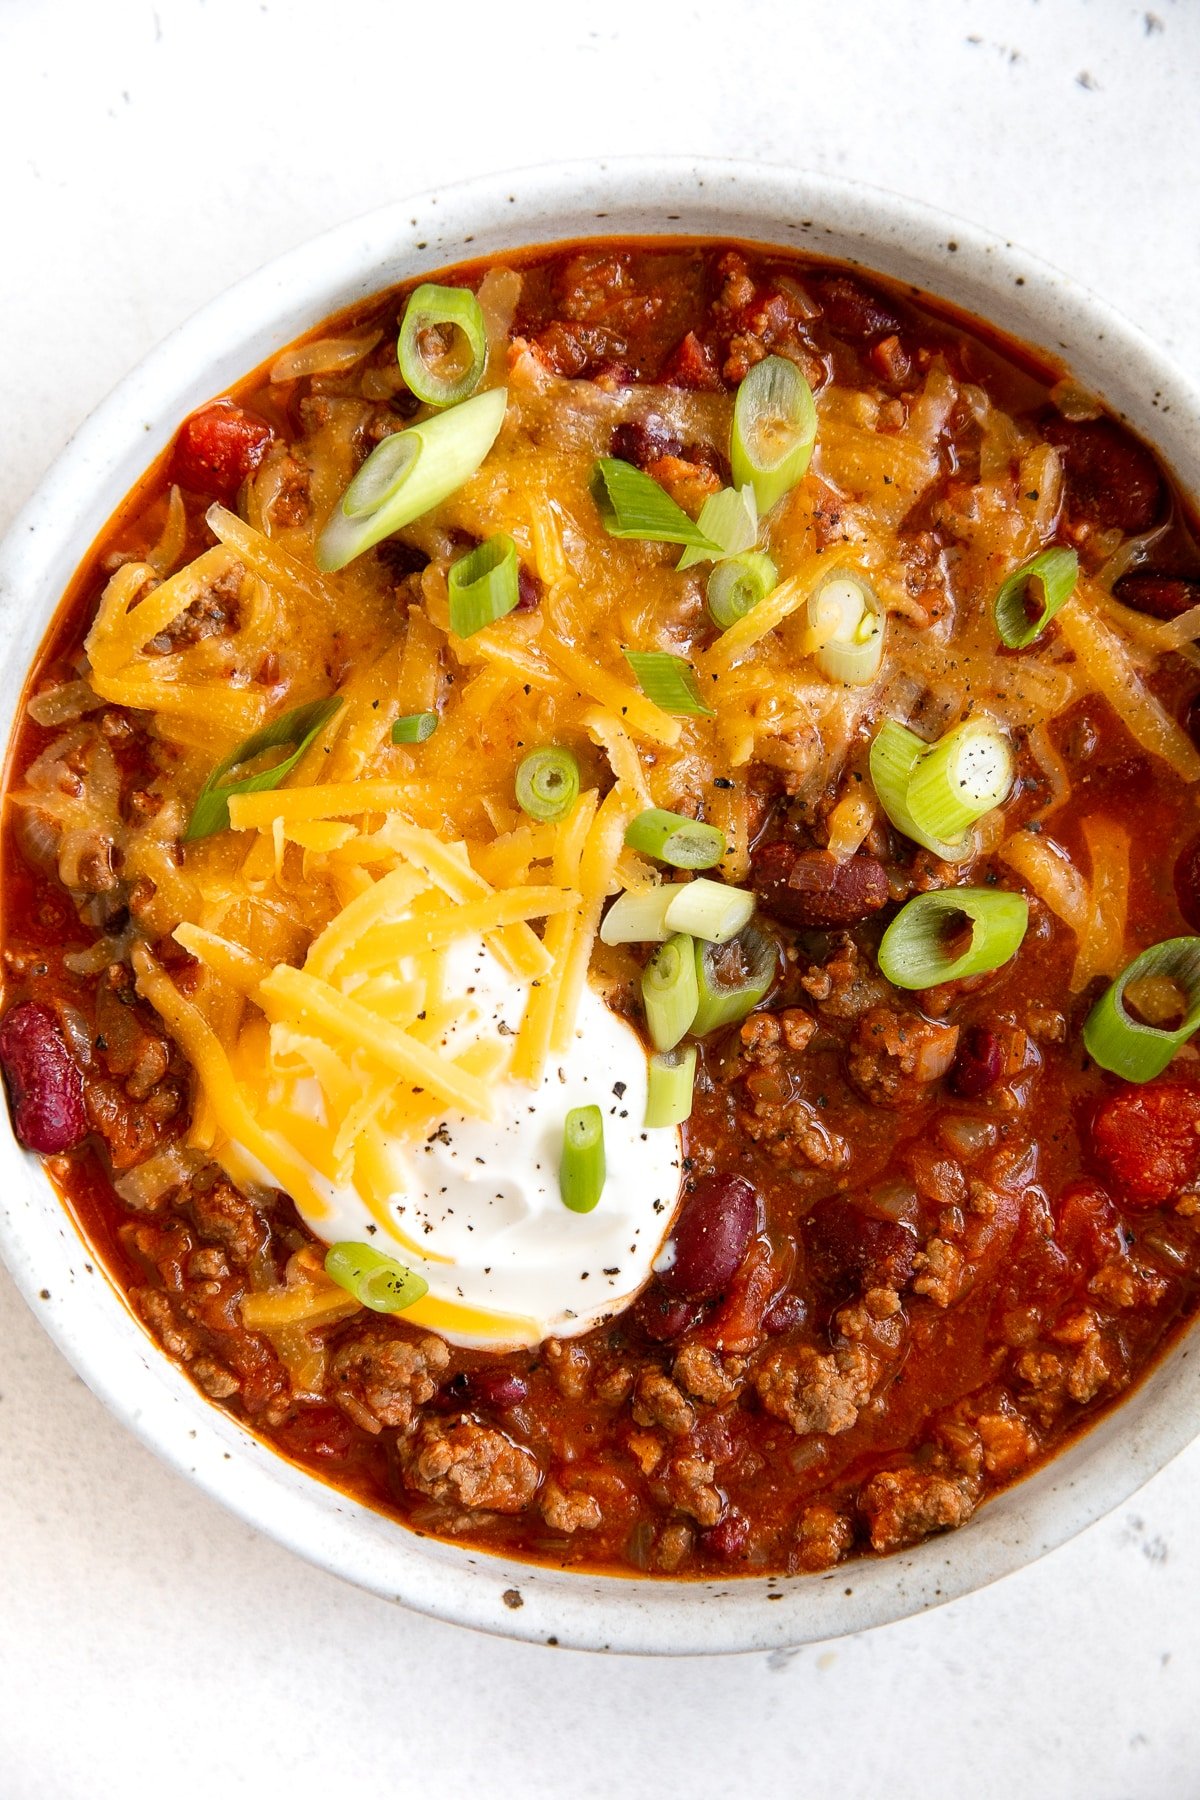
This Chili Recipe is filled with lean ground beef, bacon, and red kidney beans simmered in a simple, spice-filled tomato broth. Hands down the best chili recipe ever, serve with gooey melted cheese, sour cream, and green onions.

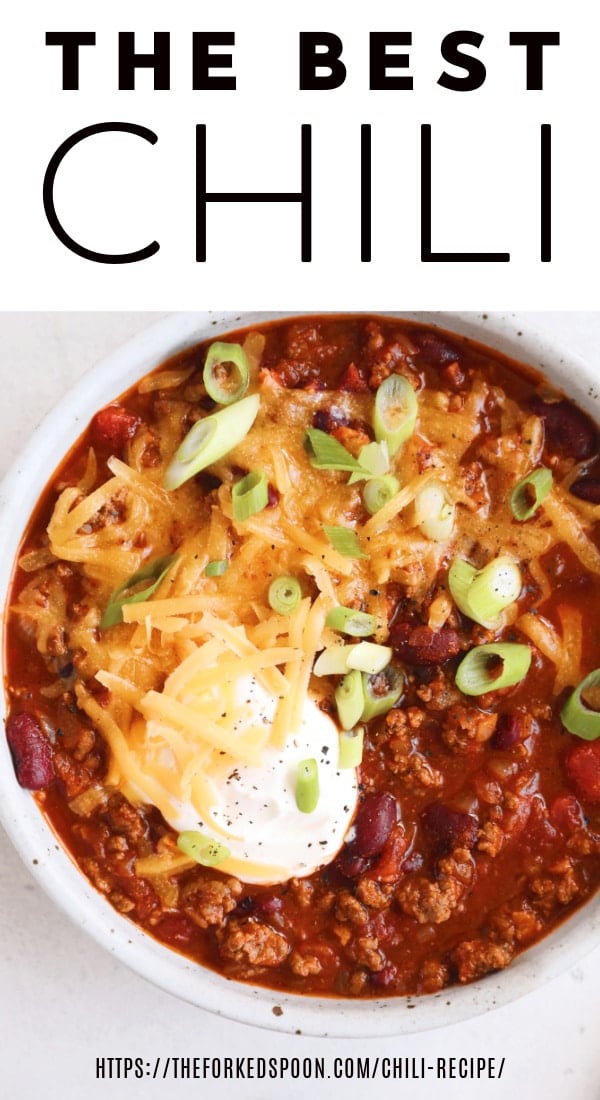
Chili Recipe
When it comes to chili, this recipe is the absolute best- and definitely my favorite. Just like how my mom used to make her chili, this one comes with all the classic beef and tomato flavors, but with one very important secret ingredient – BACON!
Thick, hearty, and delicious, it’s simple to make and only uses one pot. It’s easy enough to make during the week for dinner, and impressive enough to feed a large crowd – you can’t go wrong with a big pot of this amazing chili!
Looking for more chili recipes? Check out my easy steak chili, turkey chili recipe, or these vegetarian versions, including 3 bean miso chili and butternut squash chili. This chili, though? This one is the best and definitely my favorite.

How to Make Chili
1. Cook the bacon
If you choose to add bacon to your chili recipe (which I hope you do!) then you’re going to want to do this first. Technically, there are a few different ways to do this,
- Chop the bacon before frying
- Fry the bacon in strips, cool, and chop
- Or, cook your bacon in the oven
I find that it’s easiest to chop before frying and since I don’t want to lose any of the delicious bacon flavors and cook it directly in the pot I plan to cook my chili. Whichever method you do decide to go with, remember to reserve 2-3 tablespoons of bacon grease. Anything more than that can be tossed or saved for later use.

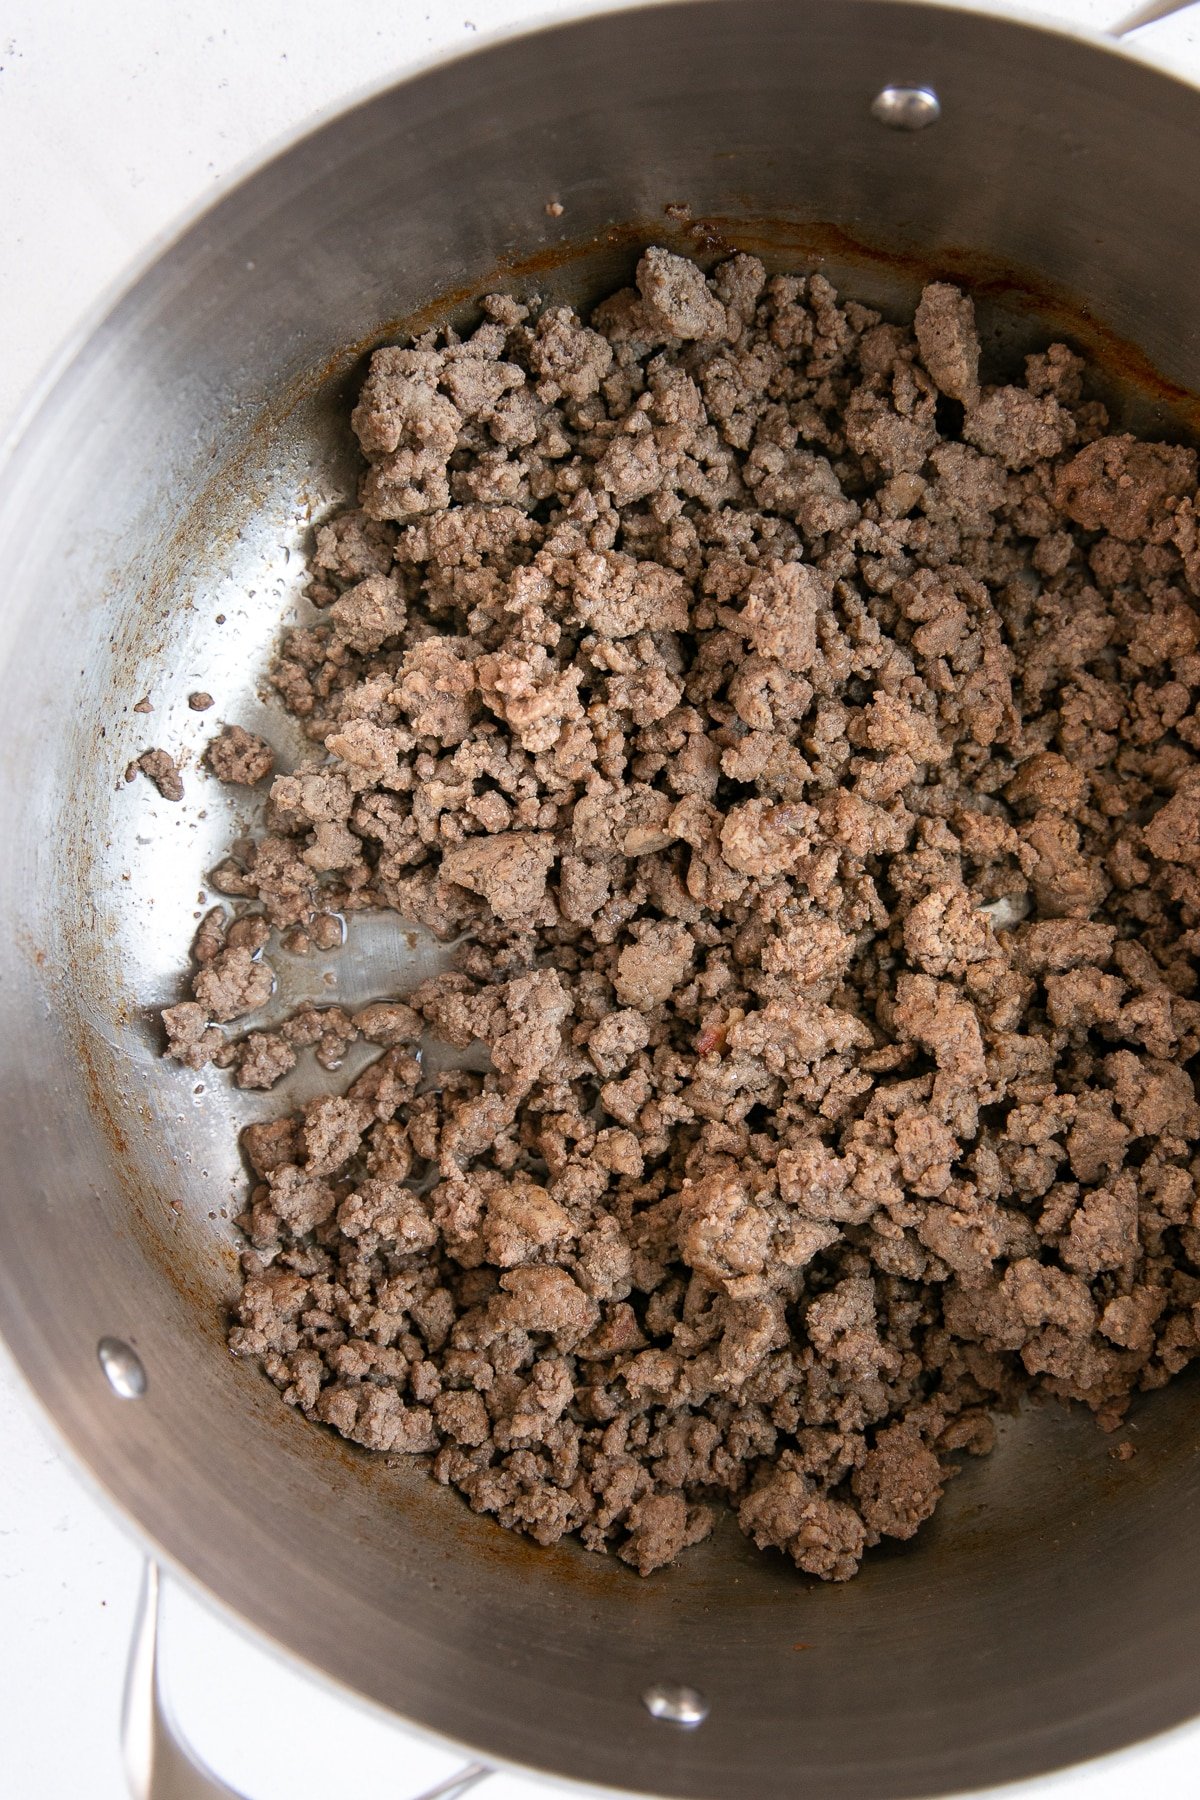
2. Brown the beef
Remove the cooked bacon to a clean plate, leaving behind approximately 1 tablespoon of that reserved bacon grease (or olive oil if you’re not cooking with bacon). Add the ground meat and cook over medium-high heat. Brown the meat and season with salt and pepper then transfer to a clean plate and set aside.
Cook things separately for best flavor
Why is it that we cook the bacon, ground beef, and onions separately rather than all at the same time?
- When cooked separately, the bacon and the ground beef can brown on their own, leaving behind a little layer of stuck-on brown caramelized bits that will ultimately result in more, and better, flavor.
- It allows us to decide how much grease from the bacon and beef actually remains in the chili and how much is removed.
- Onions are really important to the flavor of this chili recipe and need to be cooked low and slow (read all about this cooking technique in my post about Mirepoix).
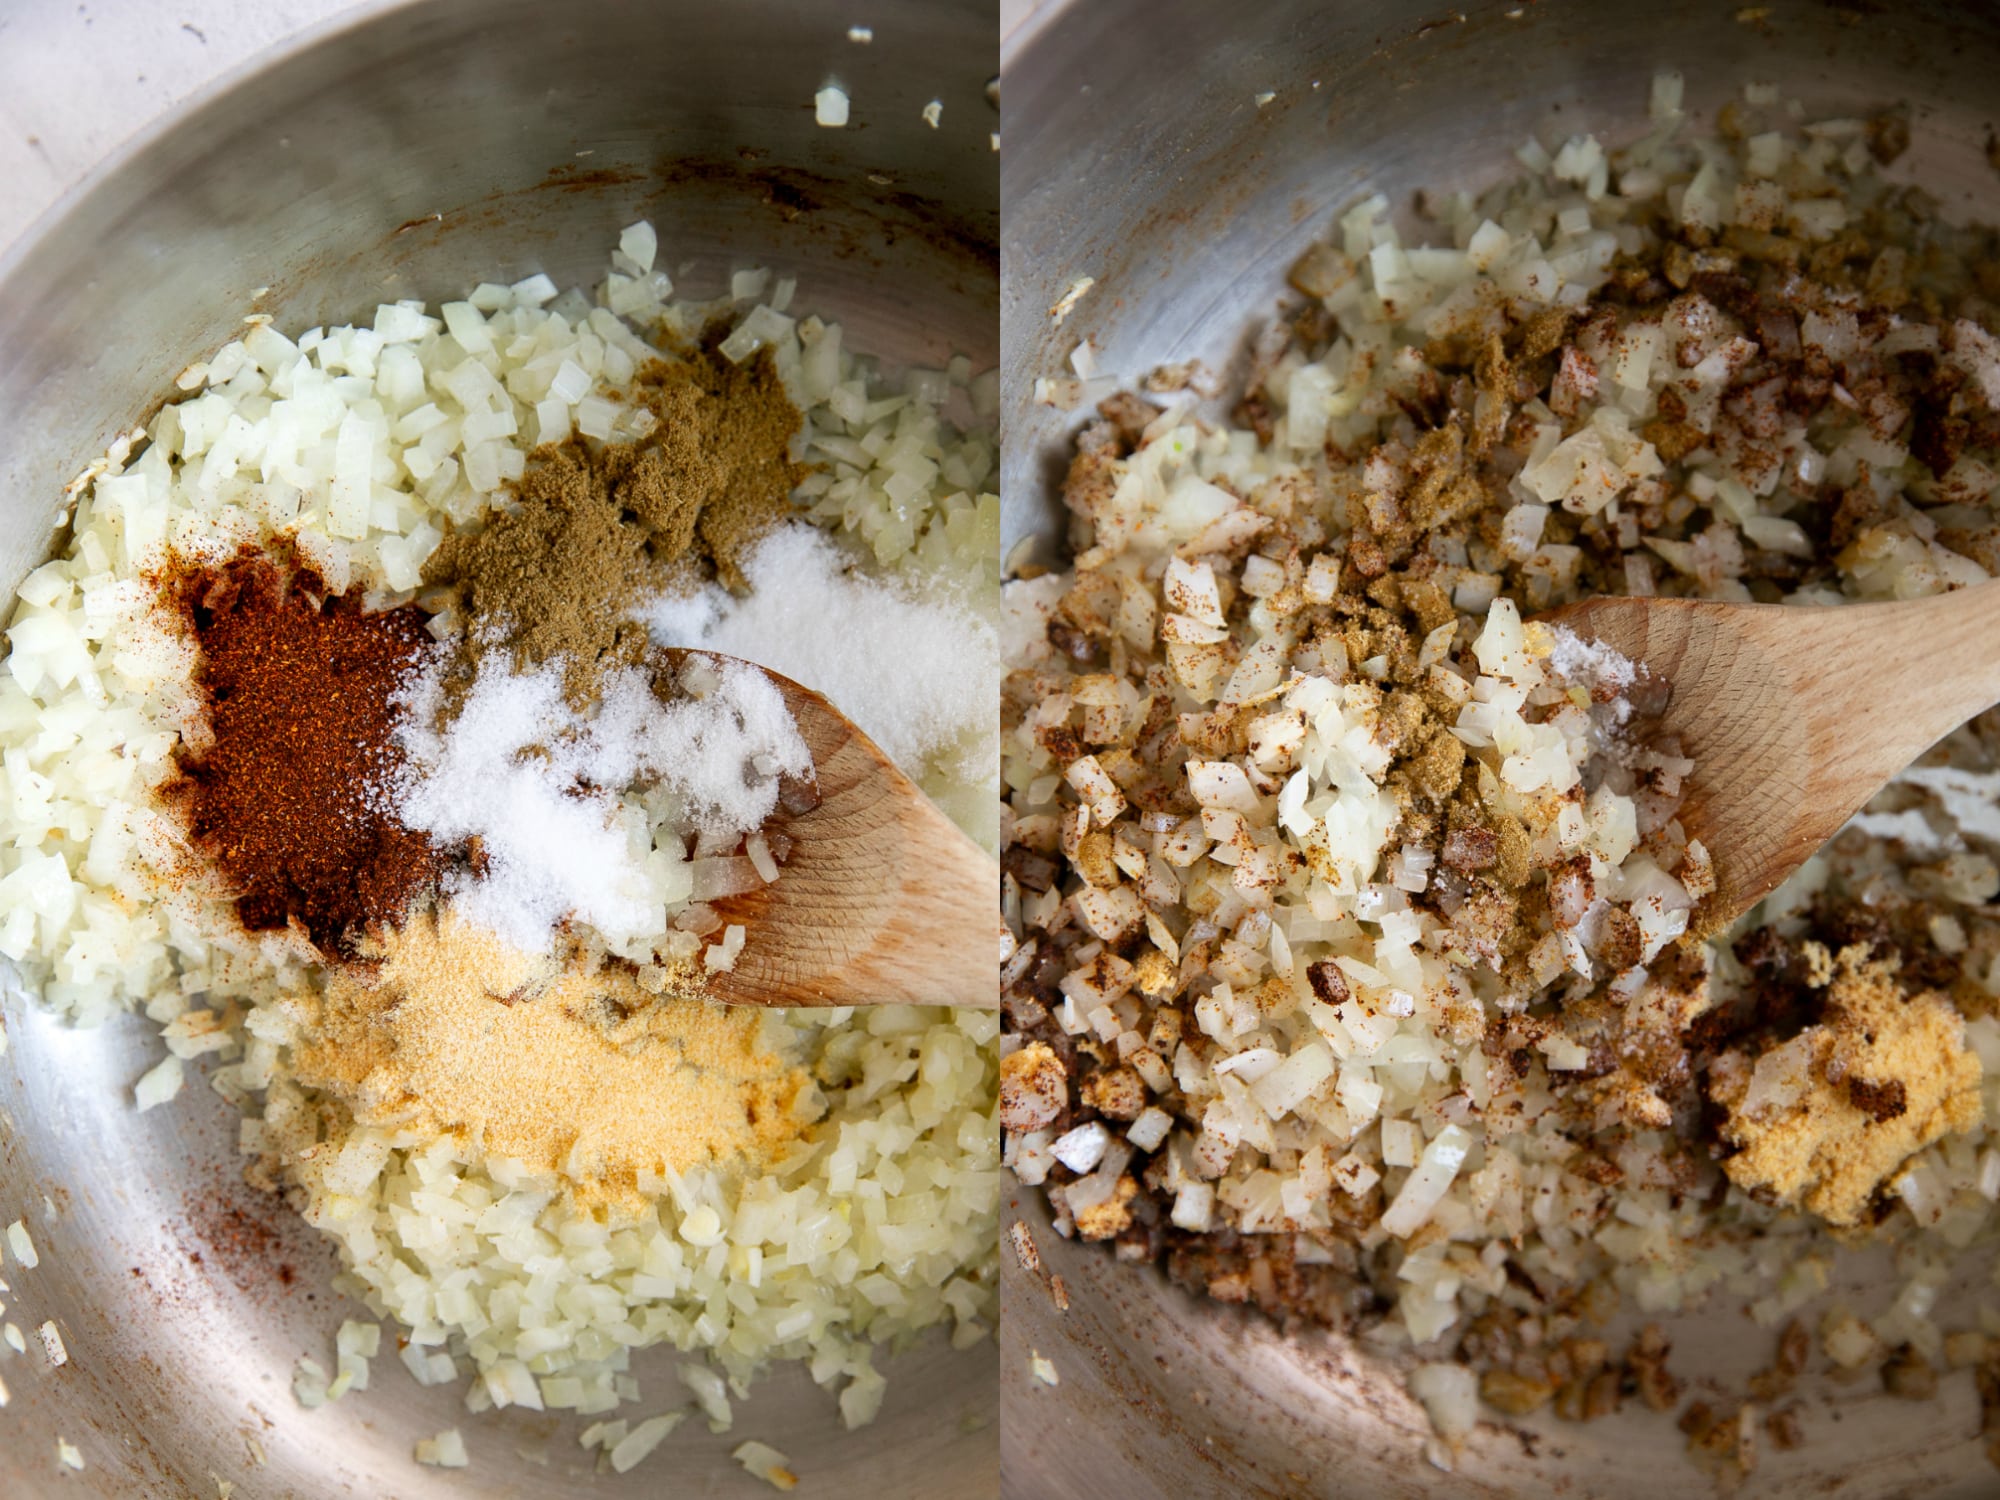
3. Onions, seasoning, and tomatoes
Cook the onion in the remaining tablespoon of bacon grease until soft, tender, and translucent. If you start to see your onions brown or burn, reduce heat to medium-low.
Sprinkle with salt, cumin, garlic powder, chili powder, and sugar. Mix well to combine.
I choose not to go crazy with the spices (especially the cumin) on purpose. With the added smokiness from the bacon and a little balancing sweetness from the sugar, you don’t need a whole lot.
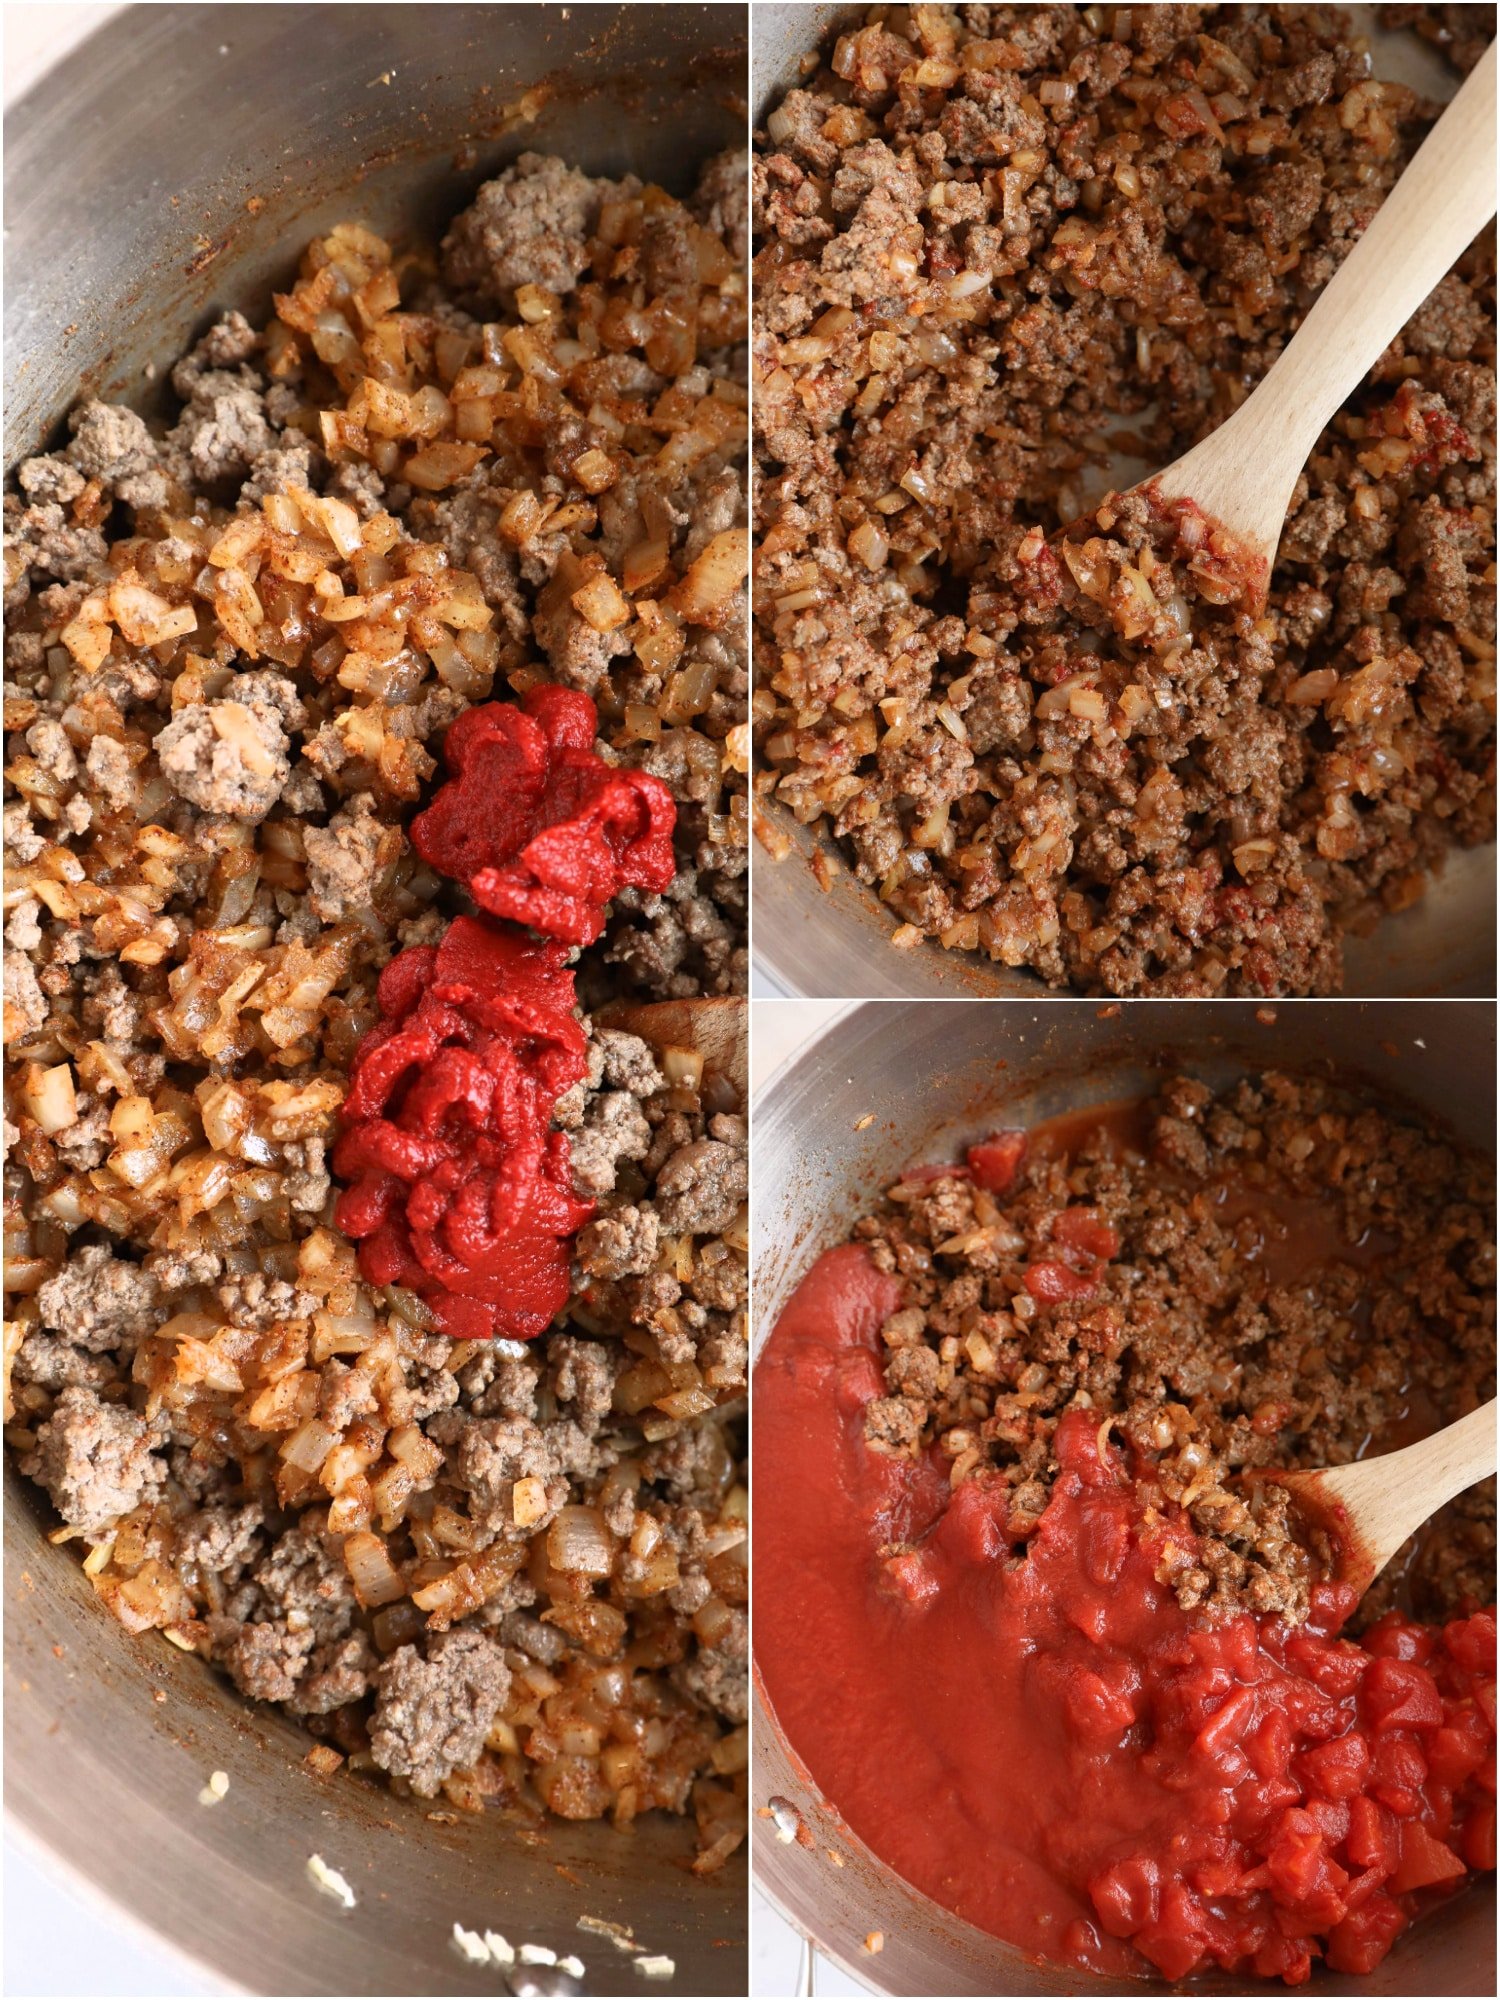
4. Put it all together
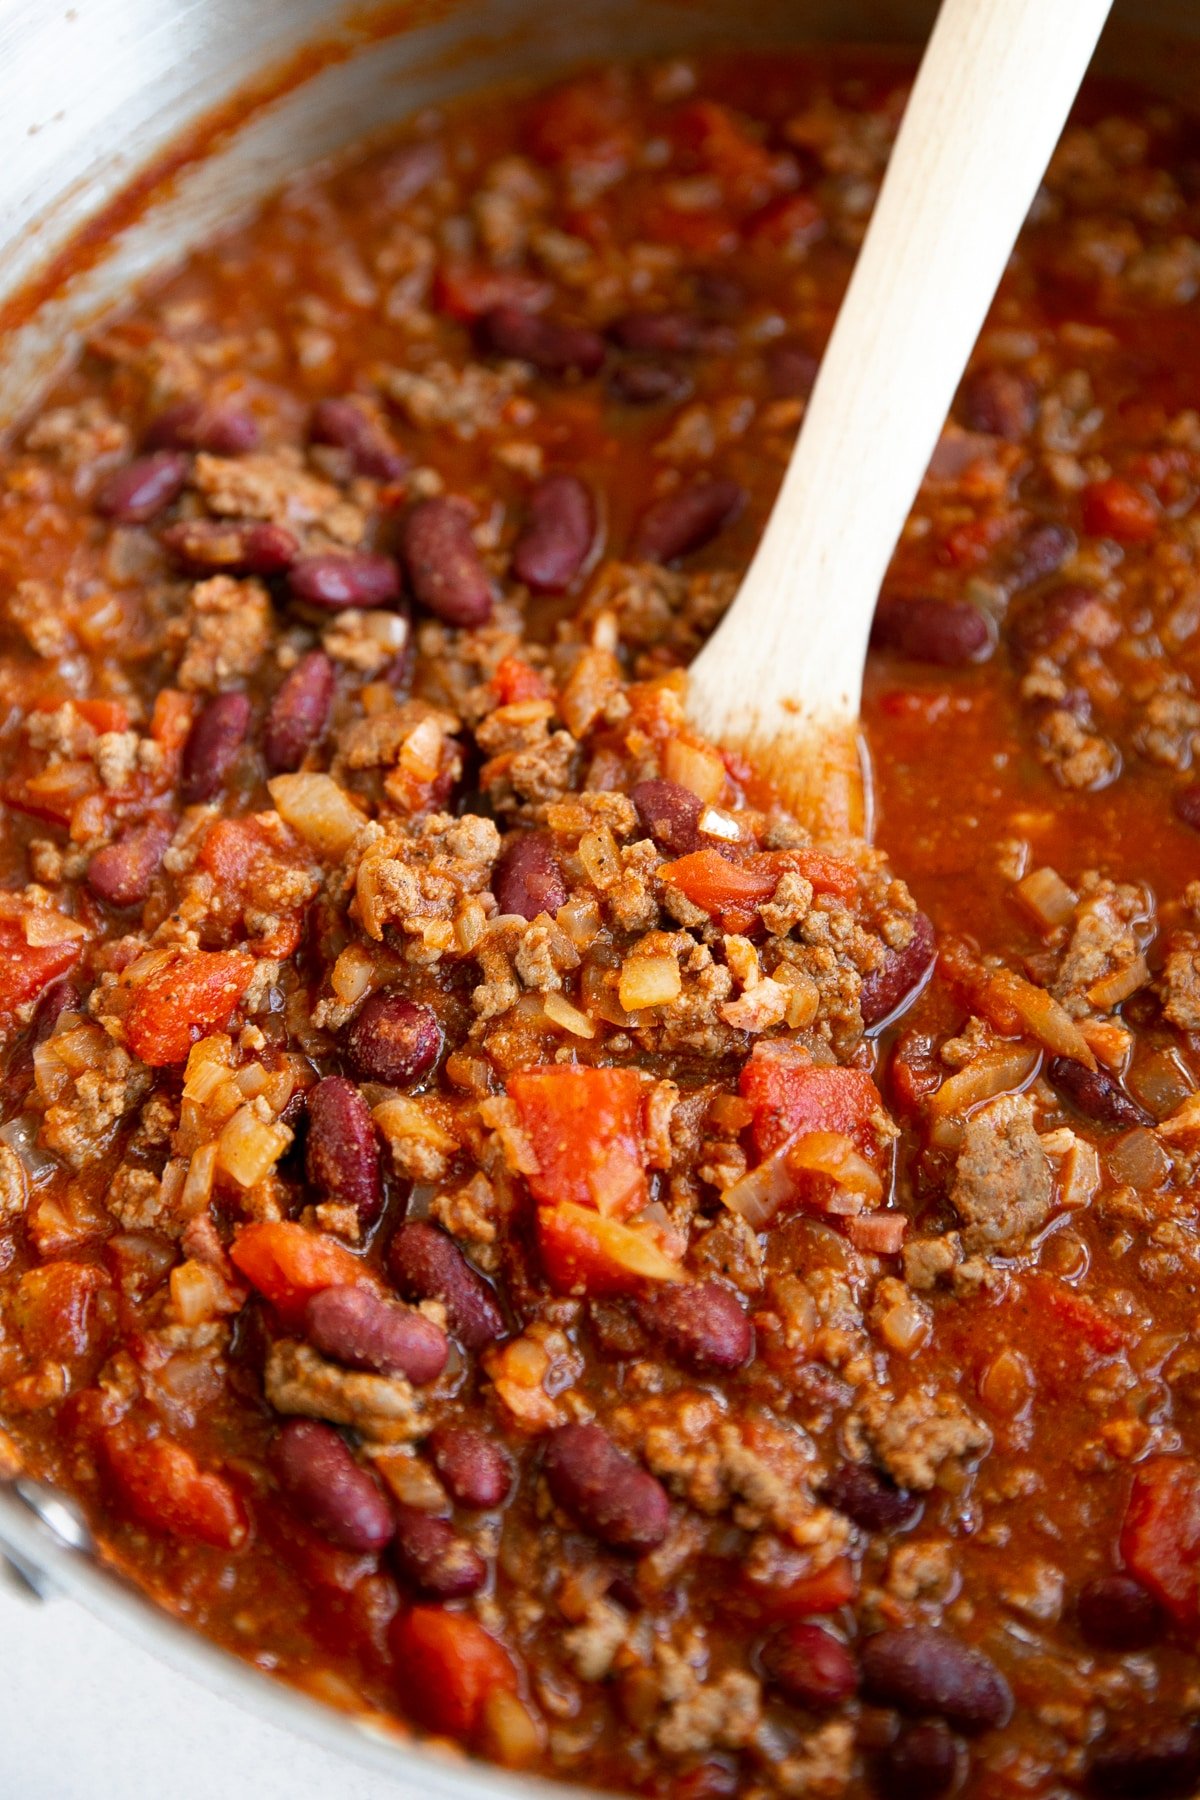
Return the cooked bacon and ground beef to the pot. Stir in the tomato paste and cook for 1-2 minutes, stirring continuously – we don’t want it burning – then add the diced tomatoes and tomato sauce and bring it to a simmer.
Add in the kidney beans and add 2-3 cups of low-sodium broth (you pick- it can be beef, bone broth, chicken stock, or vegetable broth). Mix well to combine.
5. Simmer
Allow your chili to simmer over low heat for at least 20-30 minutes or up to an hour. At this point, it’s not for food safety reasons as everything has been cooked. The flavors, however, need some time to mix and meld together. No, you don’t need to simmer it all day, but if you have a little extra time to let it cook, I highly recommend it.
How to make chili in a Crockpot?
After the bacon, ground beef, and onions have been browned and softened, transfer everything (including the remaining ingredients) to a slow cooker/crockpot and cook over high heat for 3-4 hours or low heat for 5-6 hours.
What to Serve with Chili?
Serve chili with homemade cornbread and all of your favorite toppings including:
- Shredded cheese: cheddar cheese, Colby Jack, or even Monterey Jack
- Sour cream
- Fresh cilantro
- Sliced green onions or chives
- Avocado
- Hot sauce – I’m particularly fond of Tabasco sauce
- Corn chips or crushed tortilla chips
- Sliced jalapeño (pickled or fresh)
How to thicken chili?
There are several ways to thicken chili:
- Allow it to simmer, uncovered, until the desired consistency is reached. This allows it to thicken naturally without changing the flavors.
- Add an additional cup or two of beans. You could even use a potato masher to mash them up, allowing them to release their natural starches.
- Sprinkle with cornmeal or add some tortilla chips. Crush up some tortilla chips and allow them to simmer for 10-15 minutes. They will absorb excess liquid and dissolve in the chili.
Recipe Notes & Tips
- You may substitute the ground beef for ground turkey to lower the total fat and calories. If you do use ground turkey, keep in mind that you may need to add additional seasoning since ground turkey is less flavorful than ground beef.
- Turkey bacon will not be as tasty a pork bacon.
- Optional veggies – red or green bell pepper, celery, carrots, or zucchini.
- Optional seasonings – paprika, oregano, chipotle powder (approximately 1 teaspoon of each).
FAQ
Not exactly. Soups are made with some kind of broth or stock as a primary ingredient. Chili, on the other hand, is made from the juices of meat, vegetables, beans, and smaller amounts of broth or stock. Chili is thicker than soup.
Stored properly, chili will last for 4-5 days in the refrigerator. Be sure to store in airtight containers and cool slightly before transferring to the refrigerator.
Yes. Allow your chili to cool at room temperature before transferring to freezer-safe ziplock bags or airtight containers. You may choose to freeze your leftovers as individual servings or all together in one gallon-sized ziplock bag- this is up to you. Remove as much air as possible and transfer it to the refrigerator to cool overnight. The next morning, transfer your chili to the freezer and store it for up to three months.
To reheat frozen chili, allow it to thaw in the refrigerator overnight. Then transfer to a pot and gently heat over medium heat, adding more water or broth as needed. You may also heat in the microwave at high heat for 1-2 minutes.
Make extra chili and add it to chili cheese dogs, serve it over baked potatoes, baked sweet potatoes, or even french fries. Use it to make some chili spaghetti or chili soup.
Add a teaspoon of cayenne powder, red chili flakes, or 1-2 jalapeno peppers or serrano peppers.
More Ground Beef Recipes and Cooking Resources
- The Best Meatloaf Recipe; How to Make Meatloaf
- Hamburger Stroganoff Recipe (Ground Beef Stroganoff)
- Hamburger Soup Recipe (Beef and Macaroni Soup)
- 20-Minute Ground Beef Tacos Recipe
- American Goulash Recipe (One-Pot)
- Grass-Fed vs. Grain-Fed Beef: What’s the Difference?
- 15 Types of Beans – And How to Use Them
Have you tried making this chili recipe?
Tell me about it in the comments below! I always love to hear your thoughts. And tag me #theforkedspoon on Instagram if you’ve made any of my recipes, I always love to see what you’re cooking in the kitchen.
The Best Chili Recipe
Ingredients
- 1 pound bacon, chopped into small pieces
- 2 pounds ground beef
- 2 medium onions, diced
- 1 teaspoon salt, plus more to taste
- 1 tablespoon cumin
- 1 tablespoon chili powder
- 1 tablespoon garlic powder
- 2 tablespoon sugar
- 3-4 tablespoon tomato paste
- 1 (28 ounce) can diced tomatoes
- 1 (28 ounce) can tomato sauce
- 2 (15 ounce) cans red kidney beans, drained (not rinsed)
- 2 cups broth, (beef broth, bone broth, chicken, vegetable) plus more as needed
- Optional Toppings, sour cream, shredded cheddar cheese, chopped green onions, Tabasco sauce
Instructions
- Cook the bacon – Add the chopped bacon to a large Dutch oven set over medium-high heat. Once the bacon is hot and sizzling, reduce heat to medium-low and cover with a lid. Cook low and slow, stirring occasionally. Once the bacon pieces are golden, remove the lid and allow your bacon pieces to cook until the desired doneness is reached. Using a slotted spoon, transfer the cooked bacon to a plate lined with paper towels and set aside. Reserve 2 tablespoons of leftover bacon grease.
- Brown the ground beef – over medium-high heat, add 1 tablespoon of reserved bacon grease back to your Dutch oven, and add the ground beef. Brown the ground beef and season with salt and pepper. Transfer beef to a clean plate and set aside.
- Cook the onions – Add the remaining tablespoon of bacon grease to your pot and set over medium heat. Add the onions and cook for 5-7 minutes, or until soft and translucent. Sprinkle with salt, cumin, garlic powder, chili powder, and sugar. Mix well to combine. Stir in the tomato paste and cook for 1-2 minutes over medium heat, stirring continuously. Add the diced tomatoes and tomato sauce and bring to a simmer.
- Return the beef and add some beans – As soon as your onion and tomato mixture reaches a simmer, return the bacon and ground beef to the pot. Stir in the kidney beans and add 2-3 cups of low-sodium broth (beef, bone, chicken, or vegetable broth). Mix well to combine.
- Simmer – Allow your chili to simmer for 15-20 minutes before serving. Add additional salt, pepper, or spices, if needed, and add additional broth if your chili is too thick.
- Serve – Serve with all your favorite toppings including sour cream, shredded cheddar cheese, chopped green onions, and Tobasco sauce, if desired.
Notes
- Beef: I recommend using 85-90% lean ground beef.
- Bacon: Unless you don’t eat pork, don’t skip the bacon! Such a flavor game-changer. If you prefer not to include it as part of the chili, feel free to serve it on the side as a topping.
- Beans: I added red kidney beans as they are (in my opinion) the classic chili bean. Black beans are another popular bean choice. You will also notice that I drained, but did not rinse my beans – this was intentional as that bean liquid does come with some great flavor. This is completely optional, so feel free to rinse those beans if preferred.
- Seasonings: The chili powder used in this recipe is not spicy. If you want some heat, add 1-2 teaspoons of cayenne pepper. Also, start with just 1 tablespoon of cumin. Cumin easily overwhelms the other flavors. Finally, if preferred, swap the garlic powder for 5-6 cloves of fresh minced garlic.
- Broth: add a low-sodium broth instead of water. Choose your favorite store-bought version or try my homemade chicken stock or bone broth recipe.
- The longer you allow your chili to simmer, the more time the flavors will have to mix with each other. This is a good thing! So unless you’re in a hurry, let your chili simmer a while (note on this- cover your pot and reduce heat to the lowest possible setting).
- As written, this recipe is gluten-free (although, you may want to double-check the packaging on the bacon to be extra safe)
Nutrition
Nutrition information is automatically calculated, so should only be used as an approximation.


Loved this Chili recipe! The bacon was anew twist……nice.
Thanks for the feedback and rating Christine 🙂
I just made this Chili today in the crockpot and its the best I ever had!!! So DELICIOUS! Also made a side of cornbread.. NOM!
Thanks for the delicious feedback Bree 🙂
This is the best chili recipe i have made!!! Everyone loved it
One of the best chili’s I’ve cooked!!! Easy steps and flavor was extremely well balanced and flavorful!
Thanks for the best feedback MB 😀
Turned out delicious! I added a bit of cinnamon for a different kick.
Thank you for the delicious feedback and rating Mary 🙂
Loved it! I did 2 little freestyle personal changes with it but it wouldn’t effect it the outcome.
Splendidly simple recipe that was prepared stovetop. I’ll be making another big batch with my client today. They love this recipe because the food is Home Cooked and delicious 😋!
Thank you for the splendid feedback Andrew 🙂
Loved this chili! We aren’t huge fans of beans at our house so we cut it down to 1 can. We also added 1 green bell pepper, 1 seeded jalapeño, and about a teaspoon of cayenne and it was delicious! Will definitely make this again 🙂
Thank you for the kind feedback, Melissa, I am happy your pepper additions made it delicious 🙂
This is hands down the best chili I have ever had even better than my own recipe that I’ve made for years! I followed the recipe as is and it was perfect. Easy and quick to make, I had all ingredients on hand and it tasted as if it had simmered all day.
Thank you very much, Donna, I really appreciate your generous feedback 🙂
This really was the best chili I ever made. I used ground turkey so I had to triple the amount of seasons. My husband asked for the recipe and he is not the kind to follow recipes.
Thanks so much for sharing!!
5 stars in my book!!
If you were to use the optional seasonings “paprika, oregano, chipotle powder” how much of each would you recommend to use?
Great question Nicole. I would start with one teaspoon each, and add more to taste as you like 🙂