This post may contain affiliate links. Please read our disclosure policy.
Get ready for an eco-friendly, creative, and downright fun gardening adventure! Today, we’re diving into the magical world of DIY gardening hacks that will have you upcycling, painting, and planting in no time. We’ll transform humble toilet paper rolls into nifty seedling pots and turn ordinary stones into whimsical, hand-painted garden markers. So, gather your supplies, don your gardening gloves, and let’s embark on this sustainable and playful journey that’s sure to make your garden flourish with a touch of your own artistic flair!
Today I’m stepping outside of the kitchen to show you guys two fun and easy DIY garden-themed activities perfect for the whole family. Don’t worry, even the least experienced gardener will have a blast.
And the best part? They’re educational! But, shhh. I won’t tell the kiddos if you don’t.
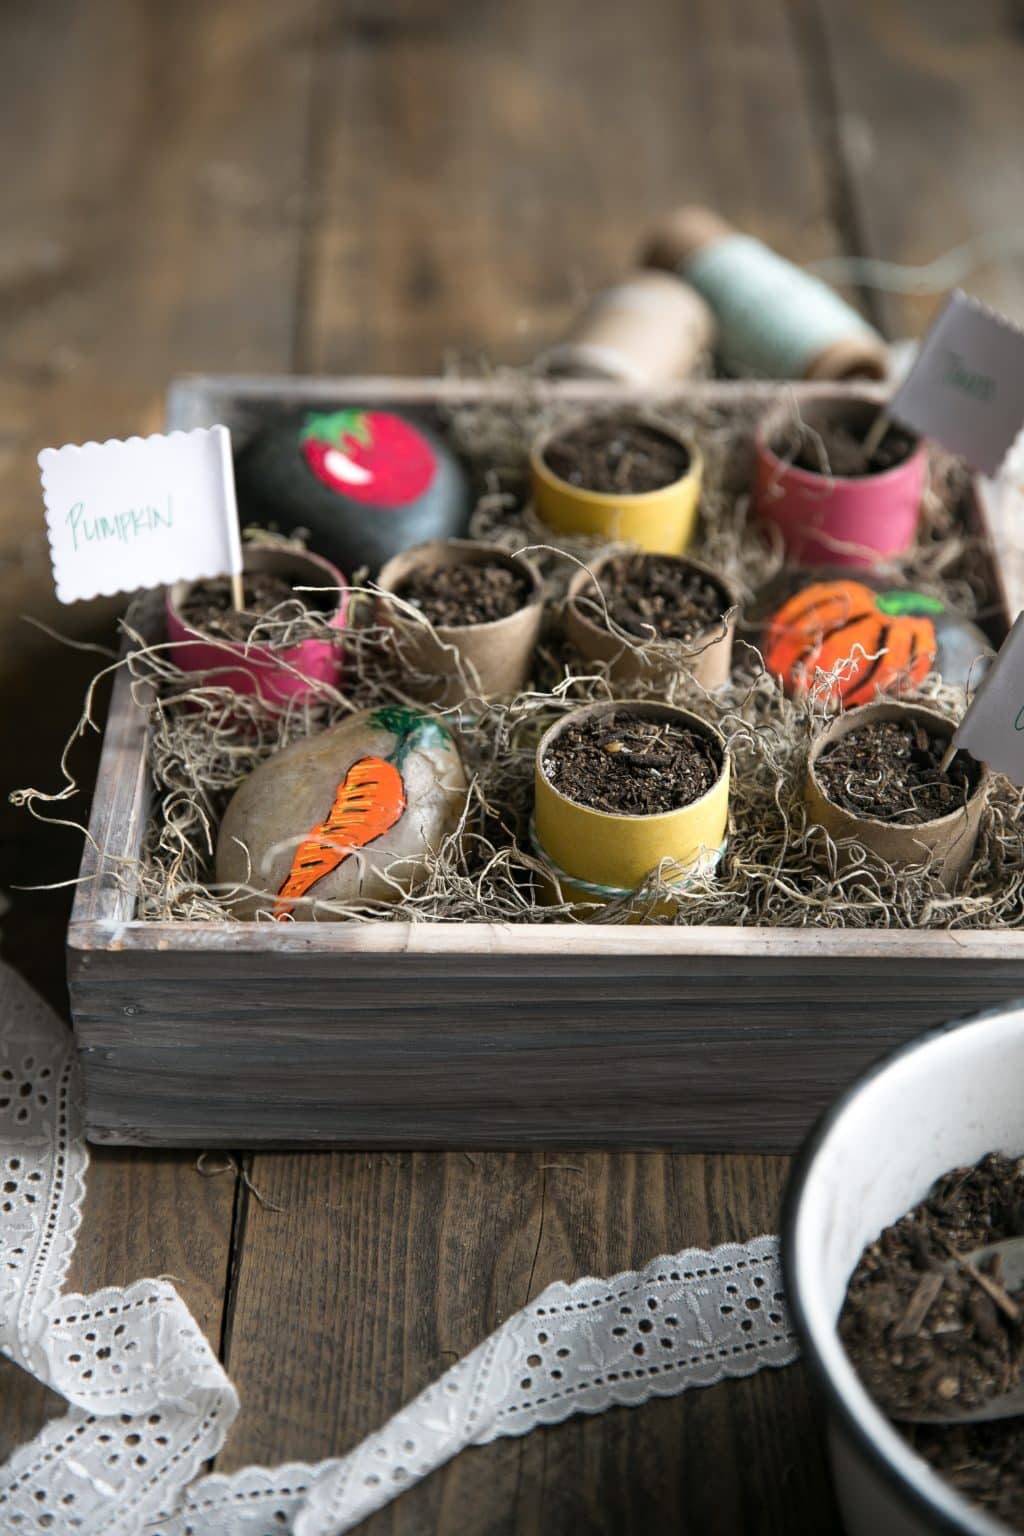
DIY PART 1- Upcycled Toilet Paper Seedling Pots
Teaches kids all about,
- gardening
- plant life cycle
- the importance of upcycling everyday products
- where some of their favorite foods come from (like carrots!)
Toilet Paper Roll Seedling Pots
Equipment
- Pair of Scissors
Ingredients
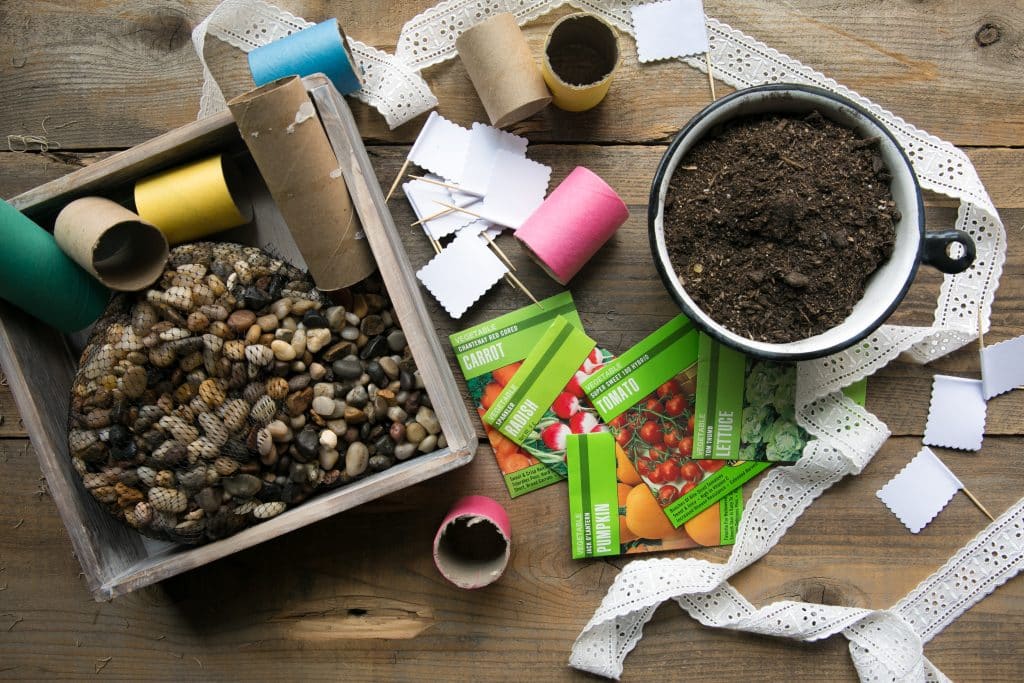
- 1 Waterproof Container
- 1 bag Pebbles or small rocks
- 6 Toilet paper rolls or Paper towel rolls, (see notes)
- 1 roll Twine
- 1 bag Planting soil
- Vegetable Seeds
Instructions
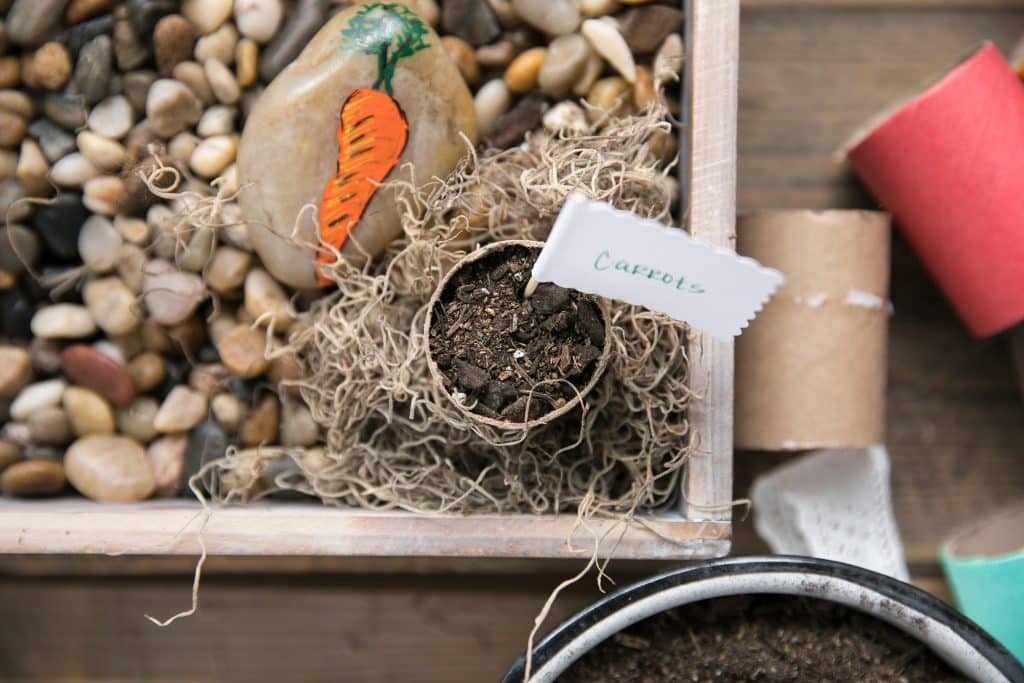
- Cover the bottom of a small waterproof container with small pebbles or rocks.

- Cut the twine into approximately 6-inch pieces and use scissors or a sharp knife (careful with the kids!) to cut the toilet paper rolls in half. Tie the piece of twine around the toilet paper roll (the twine is to prevent the toilet paper roll from unraveling with watering of the seedlings).
- Gently nudge the toilet paper roll in the pebbles so that it stands straight up and doesn't fall over. Fill the paper towel roll with soil, gently pressing down on the soil with your fingers. Add the seeds to the soil according to recommended depth and cover soil.
- Surround the toilet paper rolls with moss. Water each seedling until fully saturated, but not drowning.
- Cover the container with plastic wrap (or place in a plastic bag if it will fit). Keep the soil moist, but not too wet to prevent the toilet paper from molding. Once seeds start to sprout, remove plastic wrap to allow air circulation. Place them in an area that gets plenty of sunlight.

- Transfer entire toilet paper roll to the desired planting location and remove twine. Make sure entire toilet paper roll is covered in fresh soil.


Notes
Nutrition information is automatically calculated, so should only be used as an approximation.
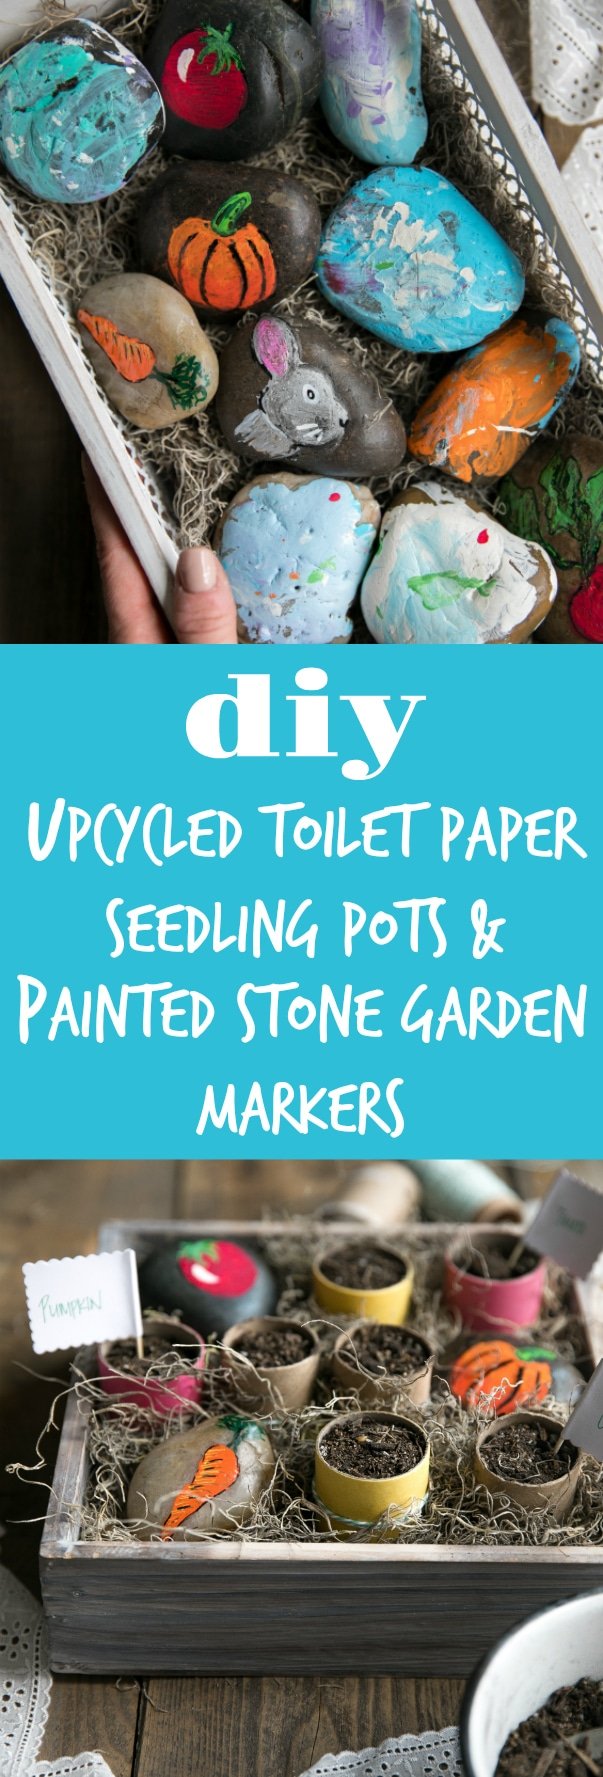
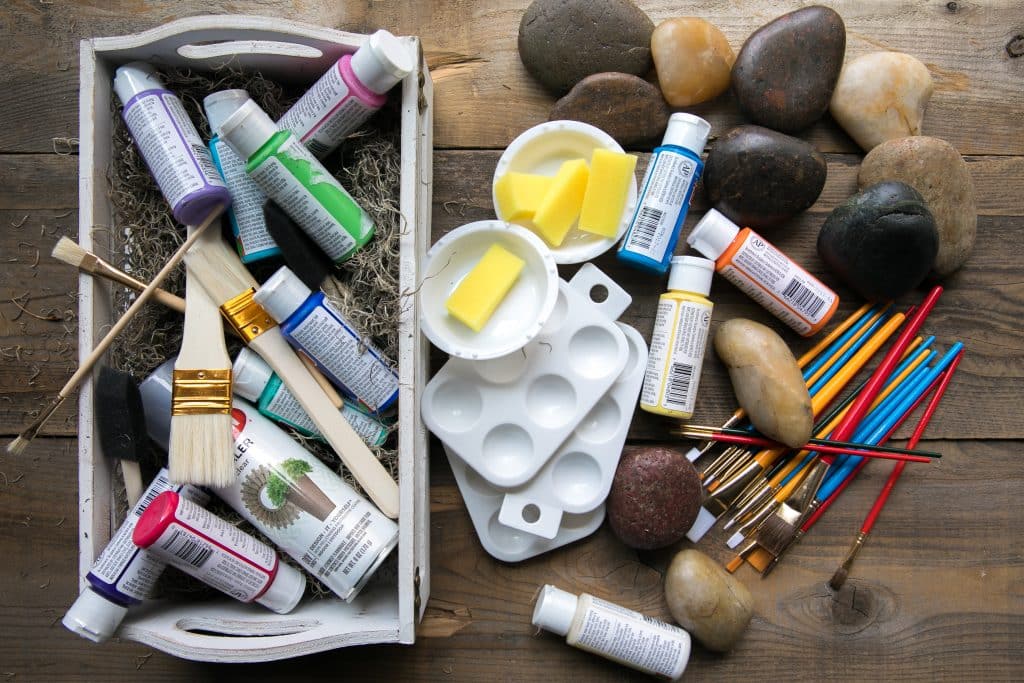
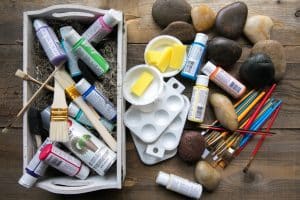
DIY PART 2: Painted Stone Garden Markers
Teaches kids,
- how to hold a pencil (or paint brush),
- writing and drawing skills
- their colors plus color combinations.
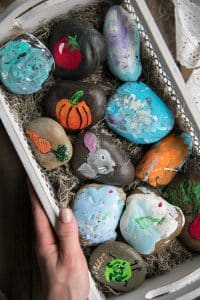
The end result of this project could not come at a better time. Octavian, my sweet little 4-year-old, suggested we gift this homemade, family project to his grandmother who loves gardening and spending time in her garden more than anyone I know.
DIY Painted Stone Garden Markers
Ingredients
- Newspaper
- Smooth flat rocks of various sizes
- Clean paint brushes
- Paint trays
- Tempera or Acrylic paints, (see notes)
- Acrylic paint pens, (optional-recommended only for adults and older children)
- Outdoor varnish
Instructions
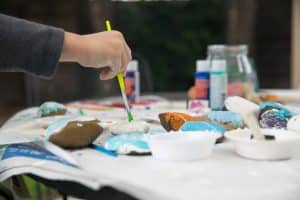
- Find a safe working space, either indoors or outdoors. If you are painting with young children, I highly recommend setting up outdoors and dressing your children in play clothes that you don't care about.
- Cover a table with newspaper or craft paper and pick desired paints. Depending on how detailed you prefer your rocks to look, you will likely need to work in layers, waiting for each previous layer to dry before moving on to the next (this is the hardest part).
- For these rocks I used acrylic paint pens as they dried the fastest, making this a one-day project instead of two or three. However, this takes some practice and has limitations. For Octavian, I allowed him to go crazy with acrylic paints as that is what I had on hand.
- Once you have finished painting the rocks and the paint has dried, spray with the varnish according to instructions and allow varnish to try completely.

Notes
Nutrition information is automatically calculated, so should only be used as an approximation.


Love the craft projects but just way too many advertisements!! It’s really hard to discern the difference between the advertisements and the actual pictures for the crafts. Rather frustrating with all this extraneous advertising going on.
Hi Kathy,
Thank you for your feedback and enthusiasm about our craft projects! We understand that ads can be distracting, but they are essential for us to keep providing free, high-quality content and instructions – its how we pay the bills 🙂 . We are constantly working on improving the website layout to enhance user experience, and your input is invaluable in this process.